
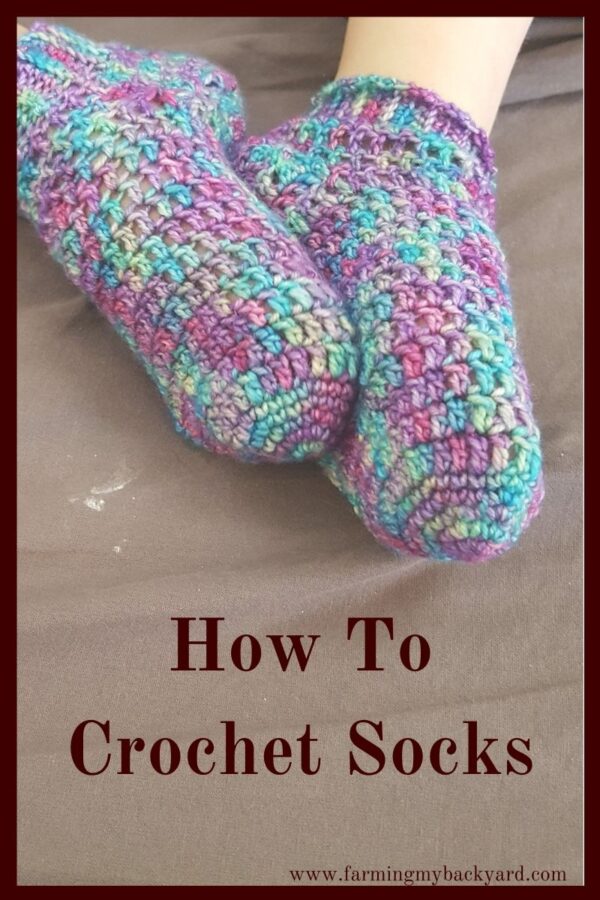
Did you know you can crochet your own socks? I made a pair for my son and it wasn’t nearly as scary as I thought it was going to be. You don’t even need a pattern once you get the hang of it, just shape the sock to the size of your foot! If you would like a pattern, here is how to make a toddler size 18 month sock.
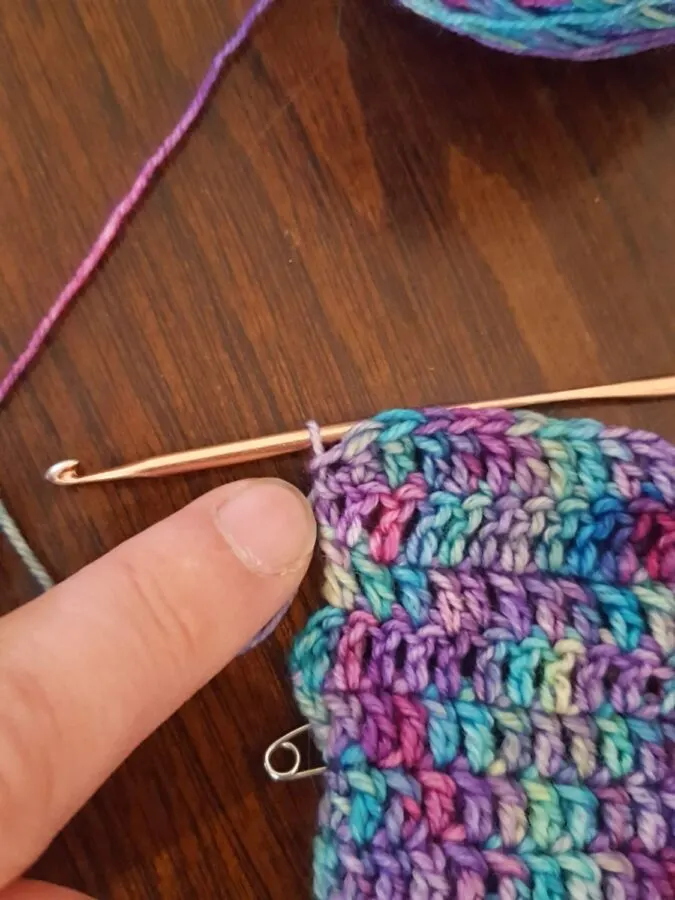
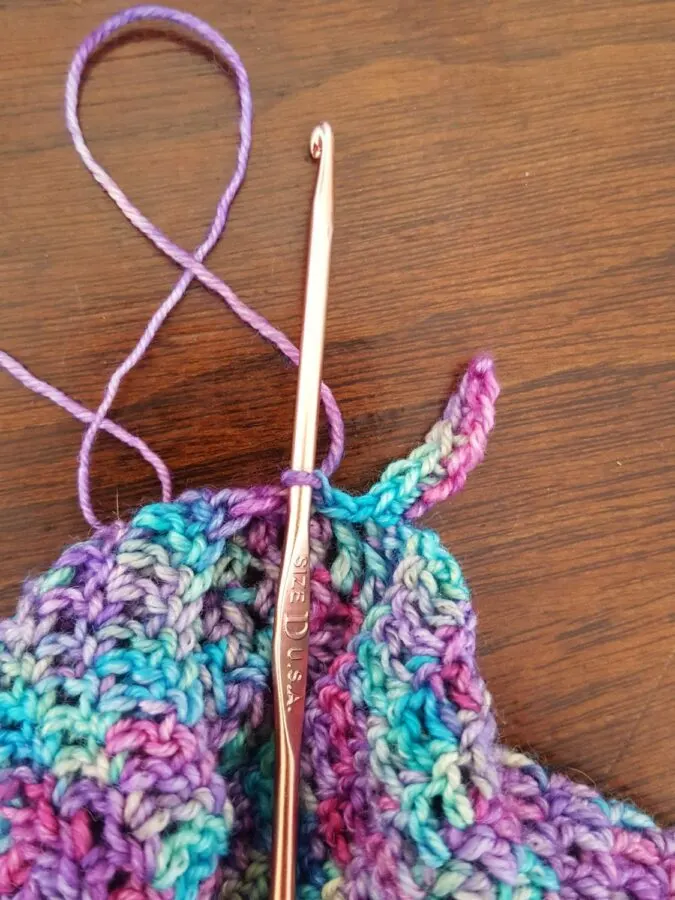
I made mine with a size D hook and a lightweight yarn. If you were to make larger socks a heavier yarn will go a lot faster! Size G hooks are nice with most yarns.

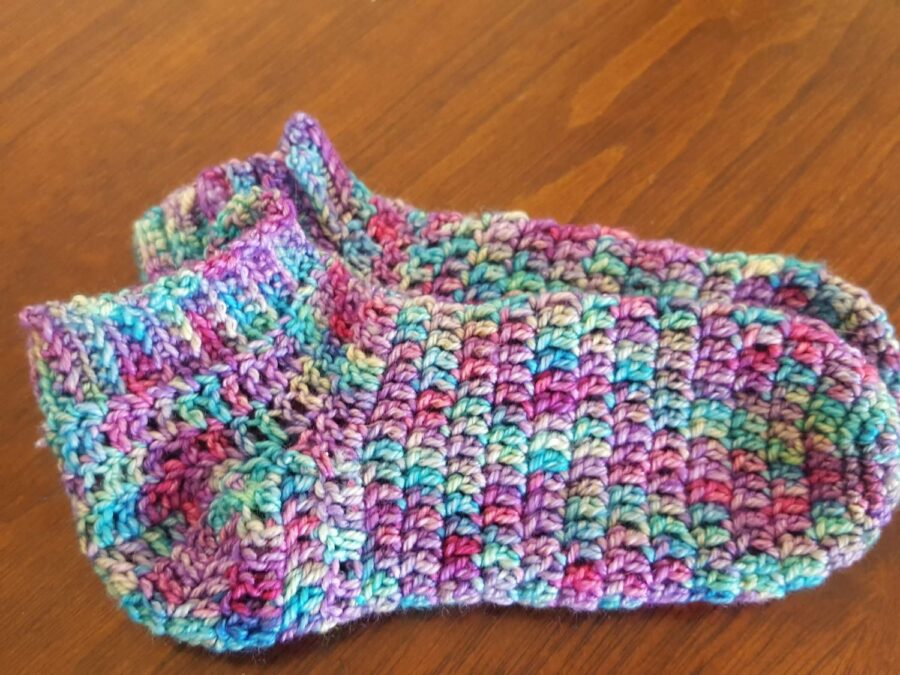
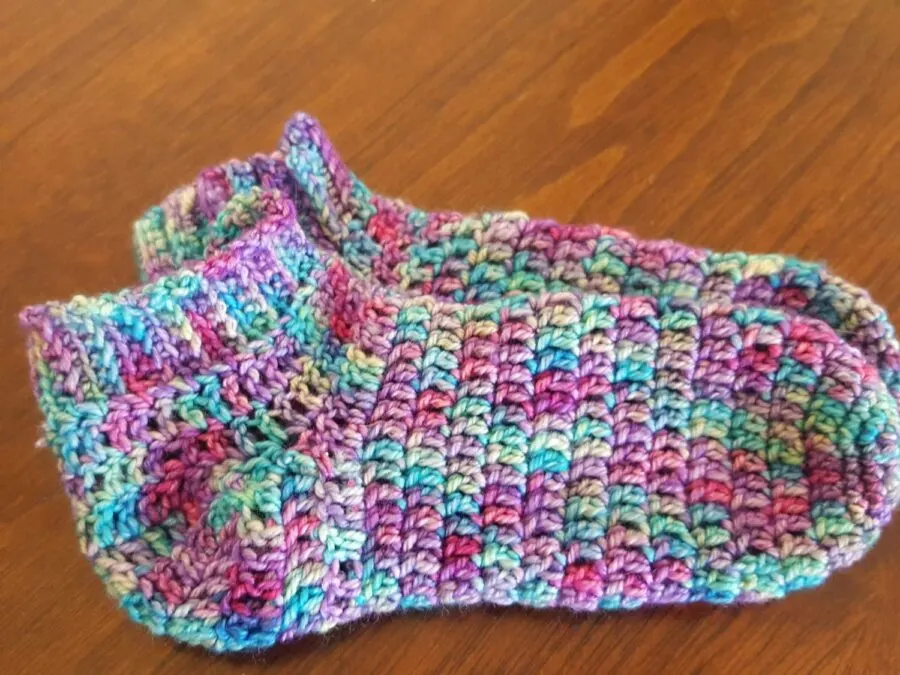
Essentially crocheted socks are just tubs with bumps for your heels. If you keep that in mind it makes it easier to tell if you’re on the right track as you work.
While I frequently crochet things for myself with my own designs, this is the first time I’ve written it down as a pattern for others to use. So for all you more experienced crafters out there, if you have any tips, please feel free to share them in the comments.
Abbreviations:
ch: chain
sc: single crochet
dc: double crochet
dc2tog: double crochet 2 stitches together
st: stitch
sl st: slip stitch


How To Crochet Socks
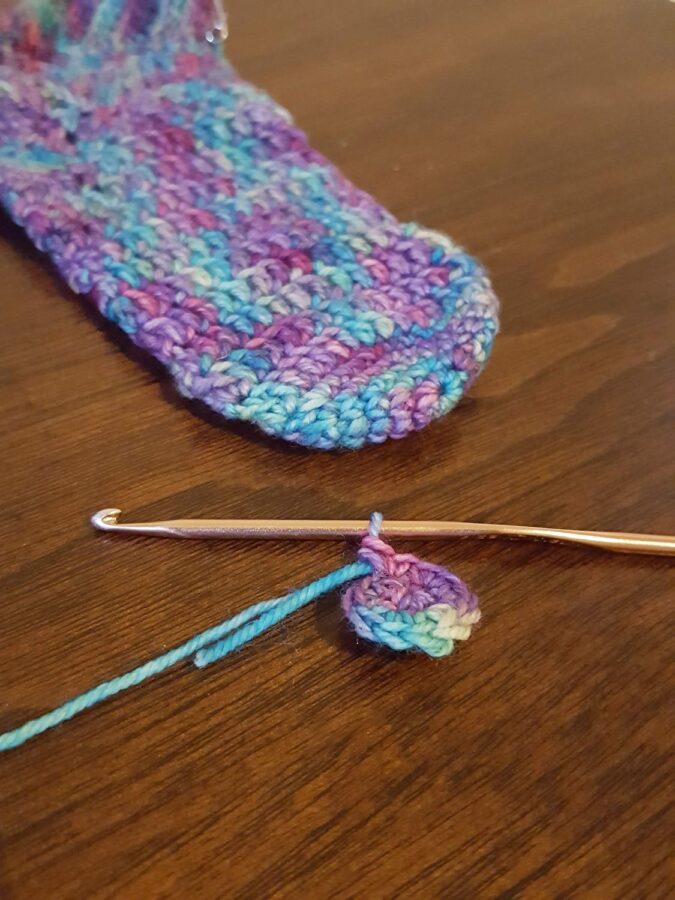
start with a magic circle (Here is how to do one if you are not familiar with them)
Round 1: 6 sc in magic circle

Round 2: 2 sc in each sc (12)
Round 3: 1 sc in next st, 2 sc in next st 6 times (18)
Round 4: 1 sc in next 2 st, 2 sc in next sc (24)
Round 5: 1 sc in next 3 st, 2 sc in next sc (30) This creates the toe of the sock. If you need a larger sock, keep increasing until it is the size you need.


Round 6- 16: 1 dc in each st (30) This creates the tube shaped part of the sock. Like with the toe, you can keep going until the sock is as long as you need.
Next, you start creating the heel of the sock. You will do this by crocheting a few rounds flat, and then connecting it back on itself. If you made a larger sock in the past two rounds, you will also need to increase the width of this stage to the size of half of your tube portion.
Round 17: turn, ch 2, dc in next 15 stitches
Round 18 turn ch. 2 dc in next 15,
Round 19 turn ch 2 14 dc
Round 20 ch 2 turn 13 dc 1 sc into side of round 19

Round 21 ch 2 skip sc 13 dc, 2 sc into side of past rows 1 sc in last dc of row 19


Round 22 ch 2 13 dc 2 sc last dc and 1 dc into last stitch of row 16 to join to top of sock


Round 23 ch 2 turn (dc 2 tog) 3 times 12 dc, (dc 2 tog in side stitches) 2 times, 15 dc. This tightens up the top of your sock so it fits correctly over the top of your foot.
Round 24 dc in ch 2 stitch of last round, 33 dc,


Round 25 33 dc slip st into next dc to finish round,
Round 26 ch 7 turn. You will now begin the cuff of your crochet socks.

Round 27 sc in front loop of chain, slip st into next 2 DC, ch turn,
Round 28 6 sc in back loop, ch1 turn,
Round 29 6 sc in front loop, 2 sc into dc, ch1 turn,
Rounds 30-40 repeat rounds 28 and 29 11 times,
Round 41 6 sc in back loop of Round 40 and bottom of chain, finish off.


Hopefully these directions help you get started crocheting socks. They are very flexible and you can add and decrease rows or stitches as needed to make your socks the size and shape that work for you.


Want To Raise Happy Chickens?
Subscribe for our newsletter and get the free email course Intro To Backyard Chickens as well as a free printable checklist to walk you through step by step!