Making an automatic chicken waterer has been on my to do list for an embarrassingly long time. For some reason it made me nervous. I thought it would be a lot harder than it actually was. Turns out it’s super easy! All you need are some chicken nipples, a drill and a 11/32 sized bit, and a bucket. Here’s how to do it, complete with pictures.
You should be able to get chicken nipples at your local feed store, or you can order them online. Buckets can usually be found for free, or at hardware stores. If you don’t have the 11/32 size drill bit you can also order those online.

Want the best of Farming My Backyard’s chicken wisdom compiled into one easy to read source? Check out our book, Backyard Chickens: How To Have A Happy Flock!
How To Make Your Own Automatic Chicken Waterer
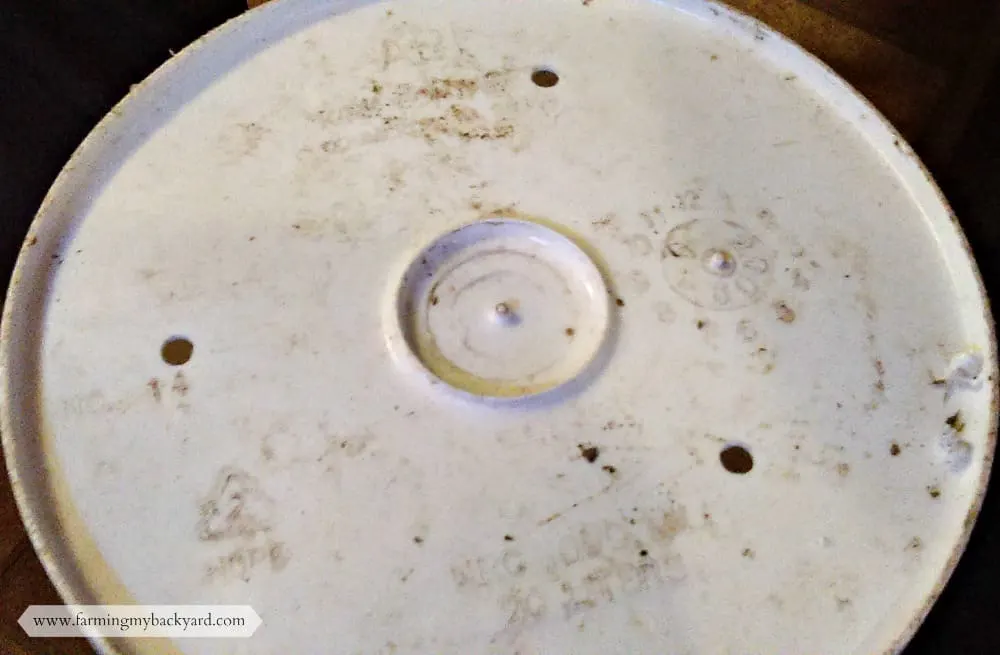
Drill holes into the bottom of your bucket.
An 11/32 sized drill bit should be the right size for both the push style and screw style chicken nipples. It’s a good idea to double check your package just in case though! I threw out my package before checking, but luckily I found instructions from Happy Money Saver.
Make one hole for each nipple. I made three, in a triangle. And I totally should have washed the bucket before I started, but I figured I would screw it up so I didn’t. Then I didn’t screw it up. That was as nice surprise!
Install the chicken nipple
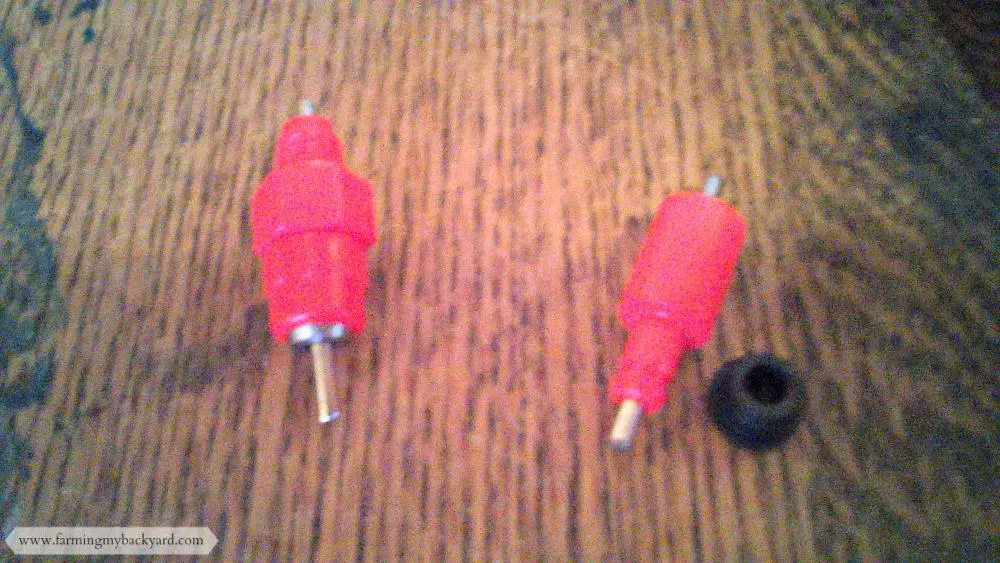
There are two kinds, a screw in kind, and a push in kind that comes with a rubber grommet. If you have the screw in kind, just screw it in. Easy.
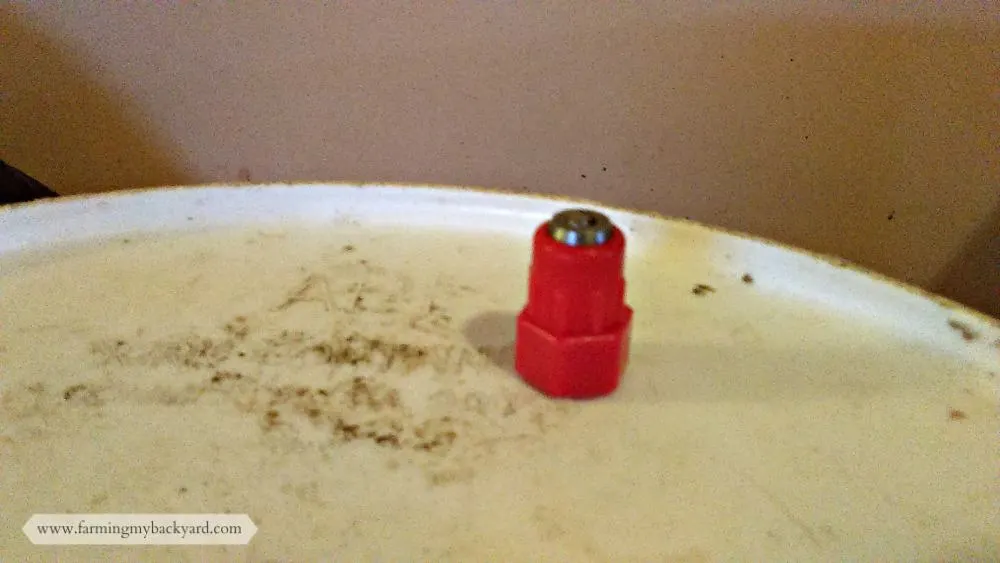
The kind with the rubber grommet required a bit of elbow grease. Get the rubber piece wet and stick it in the hole.
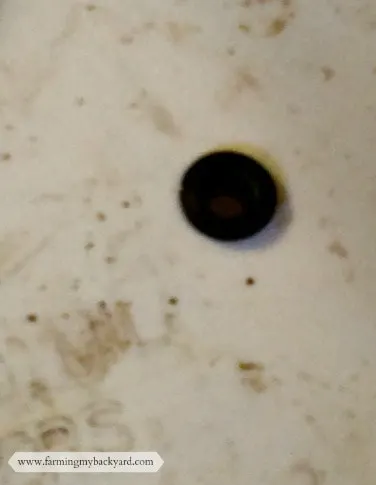
Get the chicken nipple wet and push it through the rubber. This is the HARDEST part of this whole process. It takes some serious effort to get it in there.
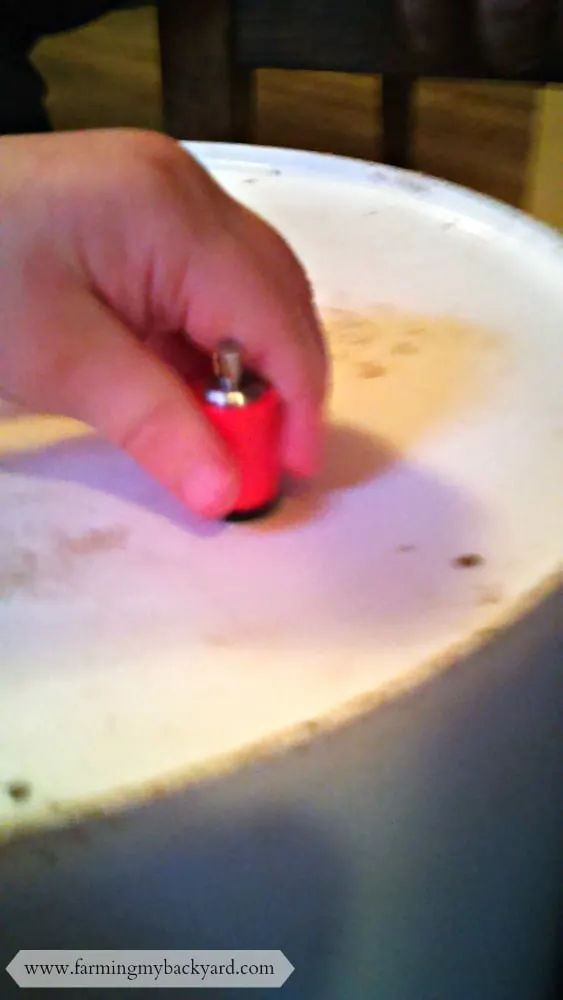
You are finished! Now test your waterer!
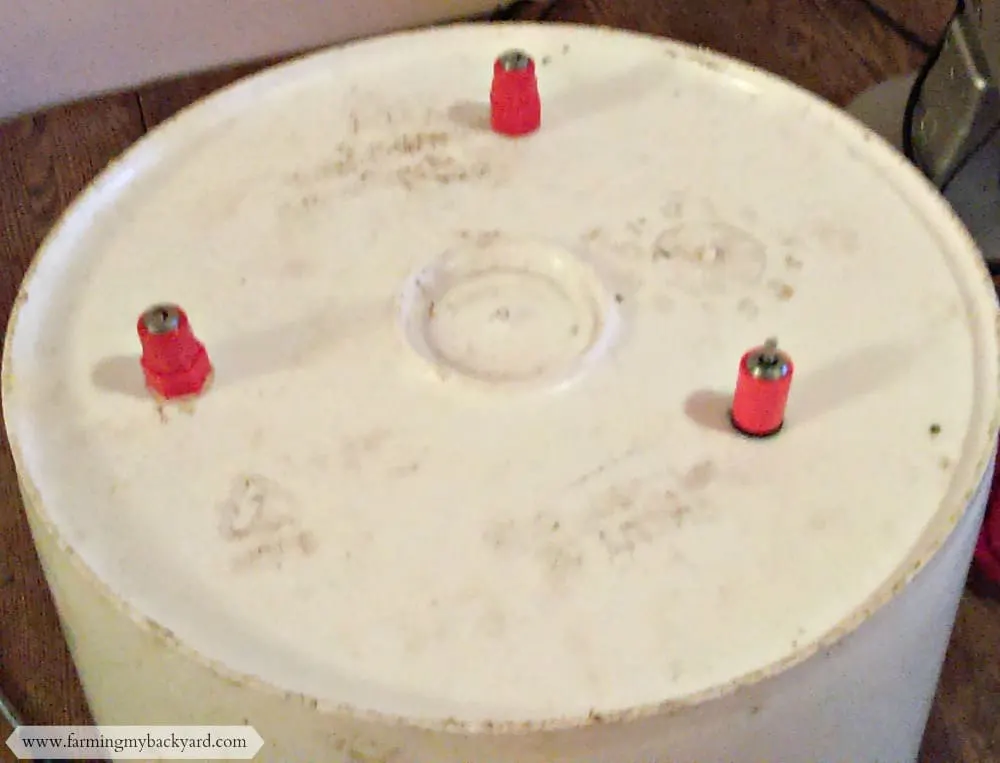
This had no drips when I tested it out, yay! (Unlike the automatic goat waterer that I mad the same day that had me pulling my hair out).
After you make your chicken waterer, go hang it outside, fill it with water and put the lid on. The water stays cleaner, and lasts longer. This five gallon bucket last AGES for our flock of eight hens. I refresh it periodically because I figure stale water doesn’t taste that great.
Getting your chickens to use a nipple waterer
There was a bit of a learning curve when I first put this into the chicken pen. They didn’t know what it was. I tried removing their old water dish, and pushing on the nipples so that the chickens could see the water streaming out.
Unfortunately, it was rather rainy that week, and the chickens decided they liked mud puddles better than learning something new. I had to keep tossing straw into the pen to cover up any puddles.
It wasn’t until the sun came out for a few days that they paid me any attention when I came out at feeding time and held the button down. Then they all seemed to “get it’ overnight and I see them all use it periodically throughout the day.
I’ve since gotten lax about the puddles (I’m in Oregon, after all), and I don’t see them use it as much, but I know they CAN, so that’s that.

Want To Raise Happy Chickens?
Subscribe for our newsletter and get the free email course Intro To Backyard Chickens as well as a free printable checklist to walk you through step by step!

SB Group Nepal
Friday 29th of December 2023
Thank you so much for sharing. Keep it up and update more information.
Katy, SkipTheBag
Wednesday 17th of August 2016
That looks so easy! We bought a trough waterer, I wasn't sure our girls would be able to figure out the nipples. Thanks for sharing on the homesteader hop!
Kathryn @ Farming My Backyard
Wednesday 17th of August 2016
It was pretty easy. It took my birds a while to figure out the nipples, and they still prefer the open water I have for the ducks, but it's nice to have this one in the coop in case I don't run out first thing to let them out.